How to configure logging to the database using the SQL Database Pro moduleWhy the SQL Database Pro module is better than ODBC DatabaseSQL Database Pro has the following key advantages:
When to use SQL Database Pro
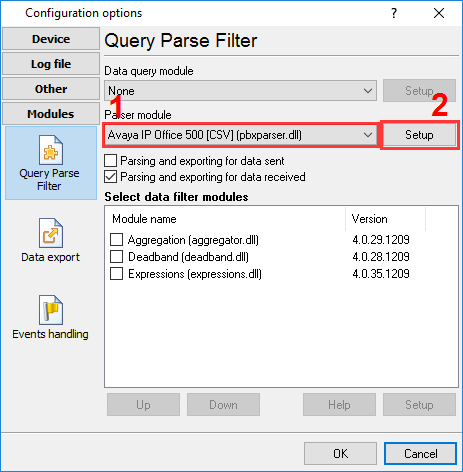
Preliminary requirementsOracle: You need to install Oracle Client Tools on the computer where you are going to install the program. Setup1. Create a configuration (if you haven't done it yet) by clicking the "Green Plus" button in the program's main window. 2. Configure a connection to your PBX. 3. Switch to the "Modules → Query Parse Filter" tab and select a parser for your PBX (Figure 1). Note: A lack or incorrect operation of the parser may prevent data from being written to the database. The next section describes how to check the parser's operation.
4. Switch to the "Modules → Data export" tab and check the "SQL Database Pro" checkbox (Figure 2).
5. Open the data export module's settings by double-clicking the module's name. 6. Switch to the "Connection mode" tab and make sure that the "Temporarily disable" checkbox is unchecked (Figure 3).
7. Switch to the "Connection parameters" tab and configure the connection:
For more details on connection parameters, see the module's help file. To open it, click the question mark in the window title bar, and then click the "Database name" field.
8. Switch to the "SQL queue" tab (Figure 5).
9. Click the "Action" button, and then select "Load SQL queue from a file" in the drop-down menu. You can find a text file named "pbxlogger-sql-queue.txt" with all necessary SQL queue parameters in the module's folder [the program's folder]\plugins\sqldb_pro\ 10. Click "OK" and save all changes both in the SQL Database Pro settings window and in the module selection window. Now each time new data are received, the program will write them to the database. Related articles: How to configure logging to the database using the SQL Database Pro module
Advanced PBX Data Logger - Read more about:Call logging Call accounting SMDR to SQL SMDR Listener Cables and signals |
|


